Introduction
Let’s talk about chocolate—and not just any chocolate, but the kind that makes you pause mid-bite, close your eyes, and savor every rich, velvety second. That’s what the Matilda Cake is all about. Do you remember the movie Matilda? It gave us one of the most iconic chocolate cake moments in history. I mean, who could forget Bruce Bogtrotter taking on that colossal, fudgy masterpiece? I’ve always wanted to recreate that magic in my own kitchen, and now, you can too.
This isn’t just a recipe; it’s your ticket to baking a cake that’s as legendary as it is delicious. Whether you’re celebrating a birthday, impressing guests, or just indulging in some self-love (because chocolate cake is self-love), the Matilda Cake is a guaranteed showstopper. Ready to dive in? Let’s gather our tools, roll up our sleeves, and bake something unforgettable. But first, here’s a little secret: the key to success is all about preparation.
“Baking is more than mixing ingredients; it’s about creating a memory that you, and everyone you share it with, will cherish.”
Table of contents
What Is the Matilda Cake?
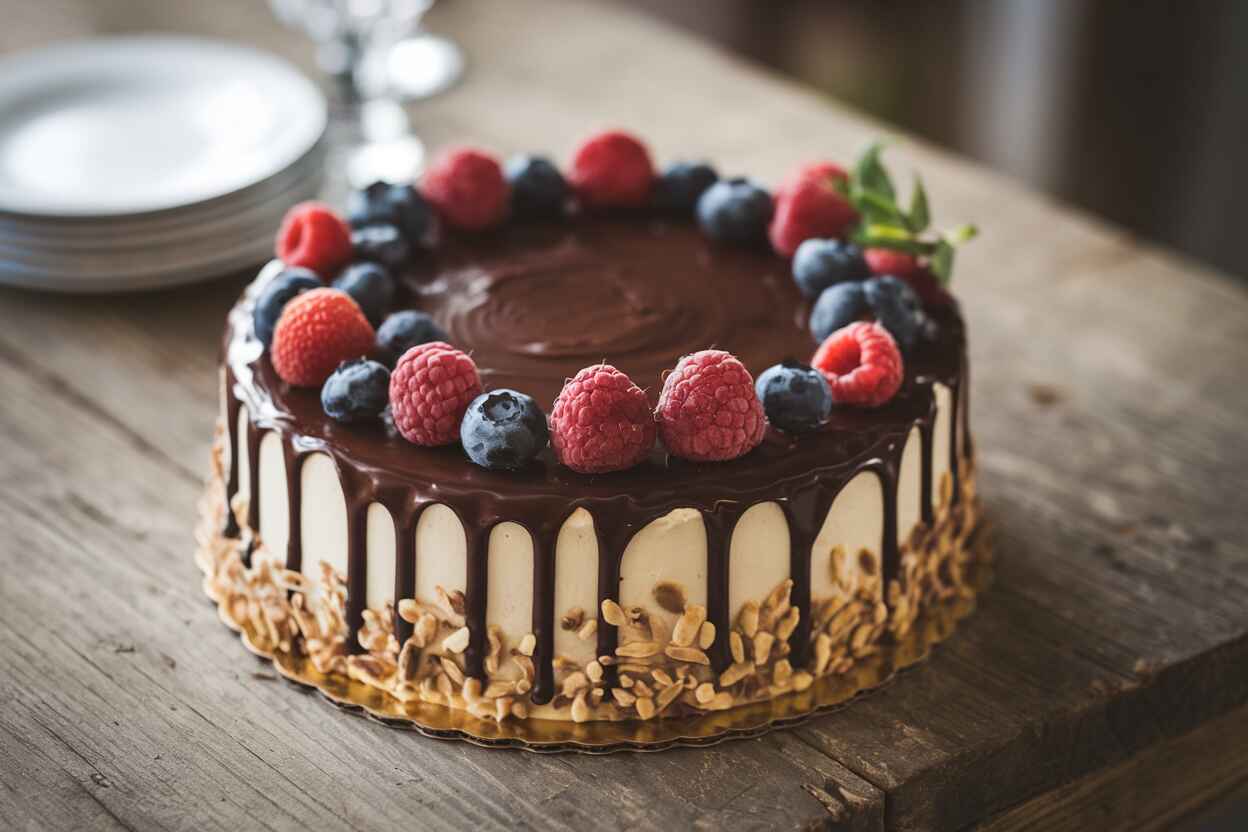
The Matilda Cake is a decadent, multi-layered chocolate cake that is as visually stunning as it is delicious. It features moist, dark chocolate cake layers sandwiched with a rich, glossy chocolate ganache. Often topped with decorative elements like chocolate shavings, berries, or frosting rosettes, the cake is the epitome of indulgence. Moreover, the beauty of the Matilda Cake lies in its simplicity; it’s a recipe that is easy enough for beginners but yields results that look and taste professional.
Why the Matilda Cake Is So Special
There are countless chocolate cake recipes, but the Matilda Cake stands out for several reasons. First, its appearance in the movie Matilda turned it into a symbol of resilience and joy. Second, the combination of moist cake layers and silky ganache offers a rich, chocolate-forward experience that’s truly unparalleled. Third, it’s versatile enough to be a show-stopper for celebrations or adapted for everyday indulgence. Finally, despite its grandeur, the Matilda Cake is surprisingly simple to make, requiring basic baking techniques and equipment. Isn’t that the best of both worlds?
The Story Behind the Matilda Cake
The Matilda Cake’s cultural journey began with one unforgettable scene in the film Matilda. In this pivotal moment, Bruce Bogtrotter, a classmate of Matilda’s, is tasked with eating an entire chocolate cake as punishment. Instead of defeat, Bruce’s triumph becomes a symbol of rebellion and solidarity. This powerful moment elevated the humble chocolate cake into an icon of triumph over adversity. As a result, recreating the Matilda Cake at home allows fans to connect with the story and celebrate their own moments of victory.
Ingredients and Equipment
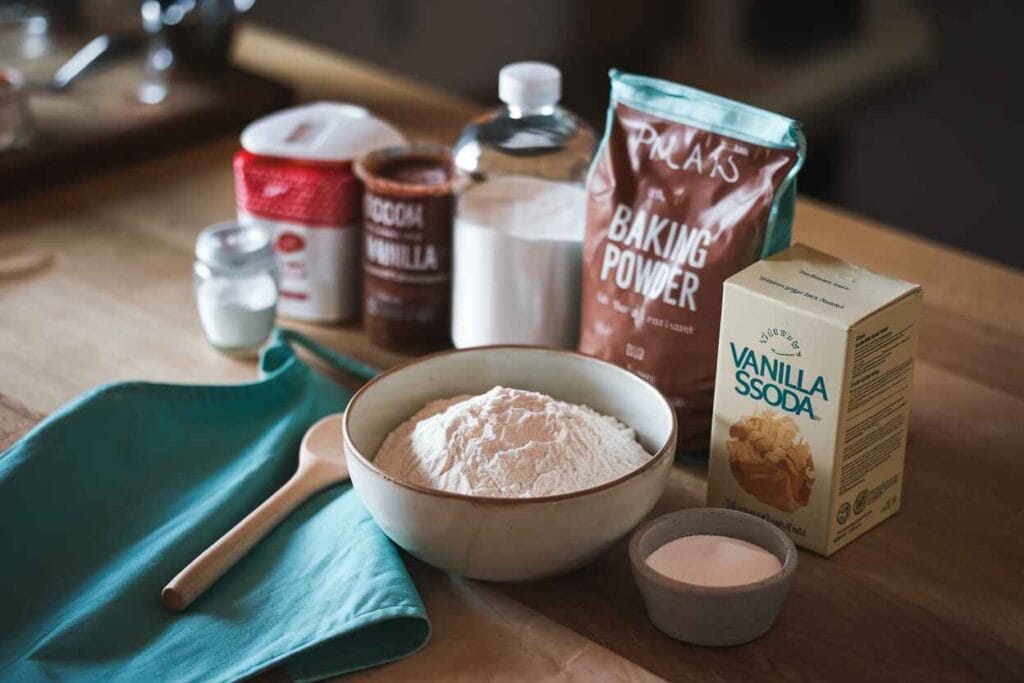
Before diving into the baking process, it’s essential to gather all your ingredients and tools. After all, preparation is key to ensuring a smooth and enjoyable baking experience.
Key Ingredients for the Perfect Matilda Cake
- All-Purpose Flour: The foundation of the cake, providing structure and stability. Ensure it’s sifted to avoid lumps. 🌿
- Unsweetened Cocoa Powder: The star of the show, delivering intense chocolate flavor. Opt for high-quality cocoa for the best results. 🍫
- Granulated Sugar: Adds sweetness and helps retain moisture in the cake layers. 🍇
- Baking Powder and Baking Soda: Essential for leavening, giving the cake its light and airy texture. ✨
- Salt: Balances the sweetness and enhances the chocolate flavor. ⚡
- Unsalted Butter: Contributes richness and a tender crumb. Bring it to room temperature for easy mixing. 🍼
- Eggs: Provide structure and stability, while also adding richness. 🥚
- Buttermilk: A secret weapon for ensuring a moist and tender crumb. If you don’t have buttermilk, you can make a substitute using milk and lemon juice or vinegar. 🍾
- Vanilla Extract: Elevates the flavors and adds warmth to the chocolate. 🍬
- Hot Coffee or Hot Water: Intensifies the chocolate flavor and helps dissolve the cocoa powder, creating a smoother batter. ☕
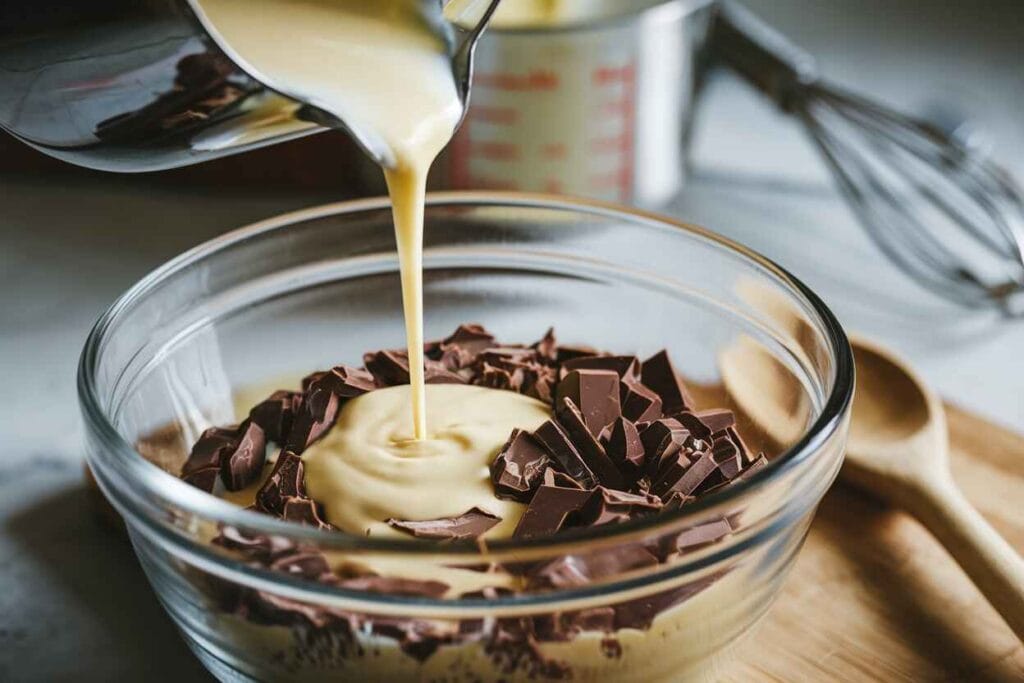
- Heavy Cream and Chocolate Chips/Chunks: For the ganache, which acts as the filling and frosting. 🍩

Baking Tools You’ll Need
- Mixing Bowls: You’ll need separate bowls for wet and dry ingredients to ensure everything is evenly combined.
- Electric Mixer or Whisk: An electric mixer makes the process faster, but a whisk works well for manual mixing.
- 9-Inch Round Cake Pans: Two pans are ideal for creating even layers. Be sure to grease and line them with parchment paper for easy release.
- Cooling Rack: Allows the cake layers to cool evenly without becoming soggy.
- Offset Spatula: Makes spreading the ganache easier and ensures a smooth finish.
- Saucepan: Used to heat the cream for the ganache.
- Cake Stand or Serving Plate: For assembling and displaying your masterpiece.
Pro Tip: Preparing Your Baking Space
Baking a cake is as much about the process as it is about the result. Therefore, ensure your workspace is clean and organized before you begin. Preheat your oven to 350°F (175°C) and gather all ingredients and tools. Measure your ingredients accurately—baking is a science, and precision is crucial for achieving perfect results.
With your ingredients and equipment ready, you’re well on your way to baking the ultimate Matilda Cake. In the next section, we’ll walk through the step-by-step instructions, including tips for mixing, baking, and assembling your masterpiece. Stay tuned!
Step-by-Step Instructions
Baking the Matilda Cake might seem like a grand feat, but with these clear and detailed steps, it will feel like a breeze. By following these instructions carefully, you’ll create a masterpiece that’s not only visually stunning but also irresistibly delicious. Let’s get started!
Preparing Your Ingredients
- Measure Everything in Advance: Start by gathering and measuring all your ingredients. Precision is key when it comes to baking, so use measuring cups and spoons for accuracy. Preheat your oven to 350°F (175°C) and grease two 9-inch round cake pans. Line the bottoms with parchment paper to prevent sticking.
- Sift Your Dry Ingredients: In a large mixing bowl, sift together the all-purpose flour, cocoa powder, baking powder, baking soda, and salt. This step ensures there are no lumps and creates a lighter, fluffier cake.
- Combine Wet Ingredients: In a separate bowl, whisk together the buttermilk, melted butter, eggs, vanilla extract, and hot coffee (or hot water). The coffee intensifies the chocolate flavor, but don’t worry—your cake won’t taste like coffee.
Mixing the Cake Batter
- Gradually Combine Wet and Dry Mixtures: Slowly pour the wet ingredients into the dry ingredients while mixing with an electric mixer or whisk. Mix until just combined. Overmixing can lead to a dense cake, so stop as soon as the batter is smooth and free of streaks.
- Divide the Batter Evenly: Pour the batter evenly into the prepared cake pans. Use a spatula to level the tops for even baking.
Baking the Layers to Perfection
- Bake the Cake Layers: Place the pans on the middle rack of your preheated oven. Bake for 30-35 minutes, or until a toothpick inserted into the center comes out clean. Avoid opening the oven door too often, as this can cause the cake to sink.
- Cool the Cakes: Allow the cakes to cool in the pans for 10 minutes before transferring them to a cooling rack. Let them cool completely before proceeding to assembly. Warm cakes can cause the ganache to melt and slide off.
Making the Rich Chocolate Ganache
- Heat the Cream: In a small saucepan, heat the heavy cream over medium heat until it begins to simmer. Be careful not to let it boil, as boiling can affect the texture of the ganache.
- Melt the Chocolate: Place the chocolate chips or chopped chocolate in a heatproof bowl. Pour the hot cream over the chocolate and let it sit for 1-2 minutes. Stir gently until the chocolate is completely melted and the mixture is smooth and glossy.
- Let the Ganache Cool: Allow the ganache to cool to room temperature. It should thicken slightly, making it easier to spread. If it hardens too much, gently reheat it in the microwave for a few seconds.

Assembling Your Masterpiece
- Level the Cake Layers (Optional): If your cake layers have domed tops, use a serrated knife to trim them for a flat surface. This step is optional but helps achieve a more polished look.
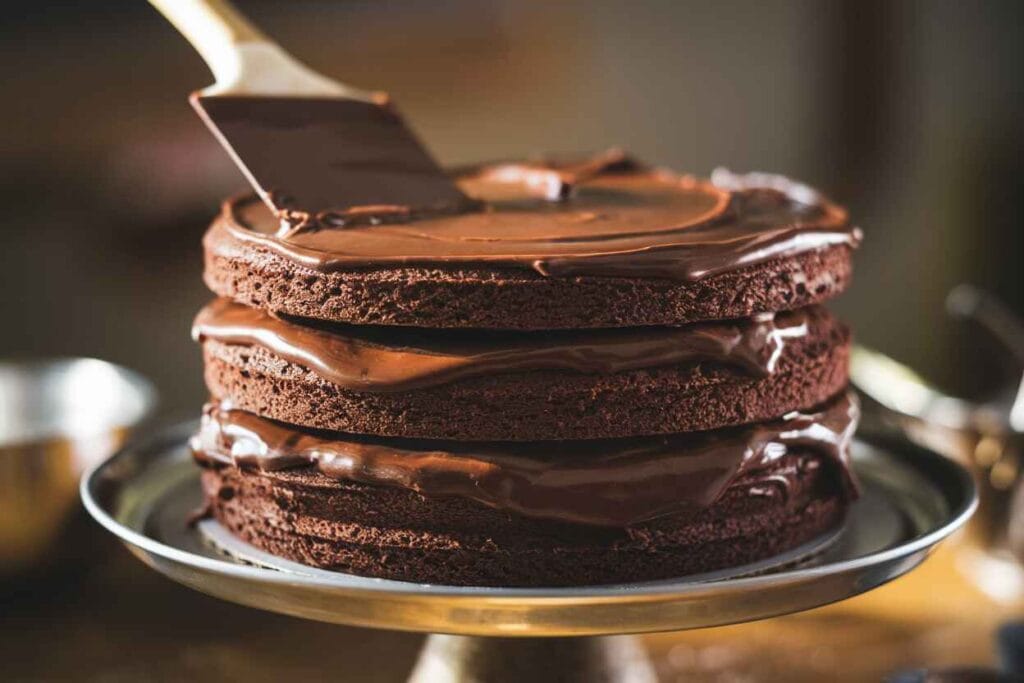
- Layer the Ganache: Place one cake layer on your cake stand or serving plate. Spread a generous amount of ganache over the top using an offset spatula. Place the second layer on top and repeat the process.
- Frost the Entire Cake: Spread the remaining ganache over the top and sides of the cake. Smooth it out for a clean finish, or create swirls and patterns for a rustic look.

Adding the Finishing Touches
- Decorate to Impress: For an extra touch of elegance, garnish your cake with chocolate shavings, sprinkles, fresh berries, or even edible gold flakes. Get creative and make it your own!
- Chill Before Serving: Refrigerate the cake for 30 minutes to set the ganache. This step makes slicing easier and enhances the overall presentation.
With your Matilda Cake assembled and decorated, you’re ready to wow your guests (or yourself—no judgment here!). In the next section, we’ll explore creative variations, substitutions, and tips for presenting your cake like a pro. Stay tuned!
Now that you’ve mastered the classic Matilda Cake, it’s time to explore creative variations, elevate your presentation skills, and address some common questions. Let’s make your cake even more special!
Bonus Recipe: Decadent Chocolate Fudge Frosting for Matilda Cake
If ganache isn’t your style or you’re looking for an alternative, this chocolate fudge frosting is a rich and creamy option that pairs perfectly with the Matilda Cake.
- Ingredients:
- 1 cup unsalted butter, softened
- 3 ½ cups powdered sugar
- ¾ cup unsweetened cocoa powder
- ⅔ cup heavy cream
- 2 teaspoons vanilla extract
- Instructions:
- In a large mixing bowl, beat the butter until creamy using an electric mixer.
- Gradually add the powdered sugar and cocoa powder, alternating with the heavy cream, until fully incorporated.
- Mix in the vanilla extract and beat on high speed until the frosting is light and fluffy.
- Spread the frosting generously over the cake layers, and use an offset spatula to create swirls or patterns for a decorative finish.
Delicious Variations and Substitutions for Matilda Cake
- Gluten-Free Matilda Cake:
- Replace the all-purpose flour with a 1:1 gluten-free baking mix. Ensure the mix includes xanthan gum for structure.
- Follow the recipe as usual, but be cautious not to overmix the batter.
- Vegan Matilda Cake:
- Substitute eggs with flax eggs (1 tablespoon ground flaxseed + 3 tablespoons water per egg).
- Use plant-based butter and non-dairy milk, such as almond or oat milk.
- Opt for vegan chocolate chips for the ganache.
- Flavor Twists:
- Add 1 teaspoon of espresso powder to enhance the chocolate flavor.
- Mix in orange zest for a citrusy twist.
- Swap the ganache for a salted caramel drizzle for a unique taste.
Creative Presentation Ideas for Matilda Cake
- Professional Garnishes:
- Sprinkle chocolate shavings or cocoa powder on top.
- Add a ring of fresh berries for a vibrant, fruity contrast.
- Use edible gold flakes or pearl sprinkles for an elegant finish.
- Layer Enhancements:
- Spread a thin layer of raspberry jam between the cake layers before adding the ganache.
- Pipe rosettes or patterns using any leftover ganache for added texture.
- Serving Suggestions:
- Serve with a scoop of vanilla ice cream or a dollop of whipped cream.
- Pair slices with freshly brewed coffee or hot chocolate for the ultimate dessert experience.
Matilda Cake FAQs: Your Questions Answered
- What was the cake in Matilda?
- The cake in Matilda was a massive, rich chocolate cake known for its dense, moist layers and decadent frosting. It became iconic due to the memorable scene in the movie where Bruce Bogtrotter triumphantly eats it.
- Where is Matilda Cake from?
- While the Matilda Cake doesn’t have a specific origin, it was popularized by the 1996 film Matilda, based on Roald Dahl’s novel. The cake represents indulgence and victory.
- How many layers was the Matilda Cake?
- In the movie, the Matilda Cake appeared as a towering single-layer cake. However, recreations often feature two or more layers for added visual appeal.
- Can I Make the Cake Ahead of Time?
- Yes! Bake the cake layers a day in advance and store them in an airtight container at room temperature. Assemble and frost just before serving.
- How Should I Store Leftovers?
- Place leftover cake in an airtight container and refrigerate for up to 5 days. Allow slices to come to room temperature before serving for the best flavor.
- Can I Freeze the Cake?
- Absolutely. Wrap individual slices or whole layers tightly in plastic wrap and foil. Freeze for up to 3 months and thaw overnight in the fridge before serving.
- What’s the Best Way to Slice This Cake?
- Use a sharp, serrated knife. Dip the knife in hot water and wipe it clean between slices for a neat presentation.
Matilda Cake: A Sweet Conclusion
The Matilda Cake is more than just a dessert—it’s an experience that brings joy, nostalgia, and indulgence all in one bite. Whether you stick with the classic recipe or experiment with creative variations, this cake is sure to impress.
Final Tips for Perfect Results
- Use the highest-quality chocolate you can find for the ganache.
- Don’t rush the cooling process; patience leads to a flawless finish.
- Most importantly, have fun and make it your own. Baking is about joy, so embrace the process and savor the results.
Now it’s your turn to create this iconic dessert. Whether you’re baking for a special occasion or simply treating yourself, the Matilda Cake is sure to leave a lasting impression. Happy baking!

