If you’re a fan of crunchy, peanut buttery goodness coated in rich chocolate, then you’re going to love Butterfinger Balls! These bite-sized treats are an easy, no-bake dessert that combines crushed Butterfinger candy bars with creamy peanut butter and a smooth chocolate coating. Whether you’re making them for a party, as a gift, or just to satisfy your sweet tooth, they’re sure to be a hit!
One of the best things about Butterfinger Balls is how simple they are to make. With just a handful of ingredients and a few easy steps, you can have a delicious treat ready to enjoy in no time. Plus, they’re perfect for meal prep—you can make a batch, store them in the fridge, and enjoy them throughout the week.
In this guide, I’ll walk you through everything you need to know to create these delicious Butterfinger Balls at home. From the ingredients you’ll need to the step-by-step process, you’ll be whipping up these no-bake delights in no time.
Table of Contents
Why You’ll Love These Butterfinger Balls
There are so many reasons to fall in love with this recipe! Here’s why I keep making them over and over again:
- No Baking Required: Perfect for when you want a quick and easy dessert without turning on the oven.
- Minimal Ingredients: You only need a few simple ingredients to create these mouthwatering treats.
- Perfect for Any Occasion: Whether it’s for a holiday, a party, or a quick snack, they always impress.
- Make-Ahead Friendly: These treats store well, making them perfect for prepping in advance.
- Customizable: You can add your own twist by incorporating different coatings or mix-ins.
If you’re looking for a quick, crowd-pleasing dessert that doesn’t require hours in the kitchen, these Butterfinger Balls are a must-try!
Ingredients and Tools Needed
Before getting started, let’s gather everything you need to make these delightful no-bake treats.
Ingredients
- 2 cups crushed Butterfinger candy bars – These provide the signature crunch and flavor.
- 1 cup creamy peanut butter – Adds richness and helps bind the mixture together.
- 1/2 cup powdered sugar – Sweetens the mixture and helps create a smooth texture.
- 1/4 cup unsalted butter, melted – Adds moisture and helps everything blend together.
- 2 cups semi-sweet chocolate chips – For that rich, decadent chocolate coating.
- 1 tablespoon coconut oil – Helps create a smooth, glossy finish on the chocolate.
Tools Needed
- Mixing Bowls: For combining all the ingredients.
- Silicone Spatula: To mix everything together without sticking.
- Cookie Scoop: Ensures uniform-sized balls for even coating.
- Baking Sheet: Lined with parchment paper for easy cleanup.
- Microwave-safe Bowl: For melting the chocolate coating.
Once you have all your ingredients and tools ready, you’re set to start making these delicious Butterfinger Balls!
Step-by-Step Instructions
Making Butterfinger Balls at home is so easy, and the best part? There’s no baking involved! I love how quickly I can whip up a batch of these crunchy, chocolatey bites whenever a sweet craving strikes. Let me walk you through the process step by step.
Step 1: Preparing the Butterfinger Mixture
First things first—let’s get those Butterfinger bars crushed! I usually toss them into a zip-top bag and give them a few whacks with a rolling pin. It’s a great stress reliever and leaves you with the perfect crunchy texture. If you prefer a finer consistency, a food processor works like a charm.
- Combine the ingredients: In a large bowl, I mix the crushed Butterfinger bars with creamy peanut butter, powdered sugar, and melted butter.
- Stir it up: I use a sturdy spatula to combine everything until it forms a thick, sticky dough.
- Chill the mixture: If it feels too soft to handle, I pop it in the fridge for about 15-20 minutes to firm up. This makes rolling much easier.
Once the mixture is ready, I know it’s time for my favorite part—rolling them into bite-sized treats!
Step 2: Rolling the Perfect Balls
Now comes the fun part—shaping the Butterfinger Balls! I grab my cookie scoop to keep things consistent, but a spoon works just fine too. Rolling them by hand gives them a homemade touch that I love.
- Shape the balls: I take small scoops and roll them gently between my palms until they’re nice and round.
- Arrange them: Placing each one on a parchment-lined baking sheet keeps them from sticking and makes cleanup easy.
- Chill again: I always let them firm up in the fridge for at least 30 minutes before moving on to the chocolate coating. This helps them hold their shape.
Trust me, chilling them properly makes all the difference when it’s time to coat them in chocolate!

Step 3: Coating with Chocolate
The chocolate coating is where the magic happens! I love watching these little treats turn into glossy, chocolate-drenched perfection.
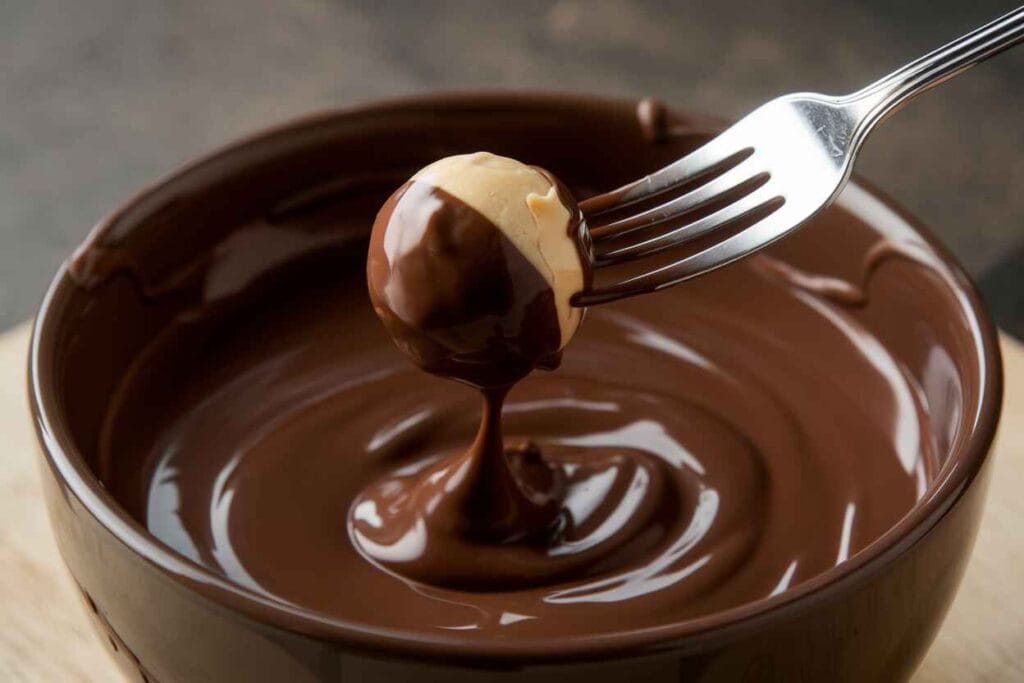
- Melt the chocolate: I microwave the chocolate chips and coconut oil in 30-second intervals, stirring in between until it’s smooth and shiny.
- Dip the balls: Using a fork, I dip each Butterfinger Ball into the melted chocolate, gently rolling it around to get an even coat.
- Let the excess drip: I tap the fork on the side of the bowl to remove any extra chocolate before placing them back on the baking sheet.
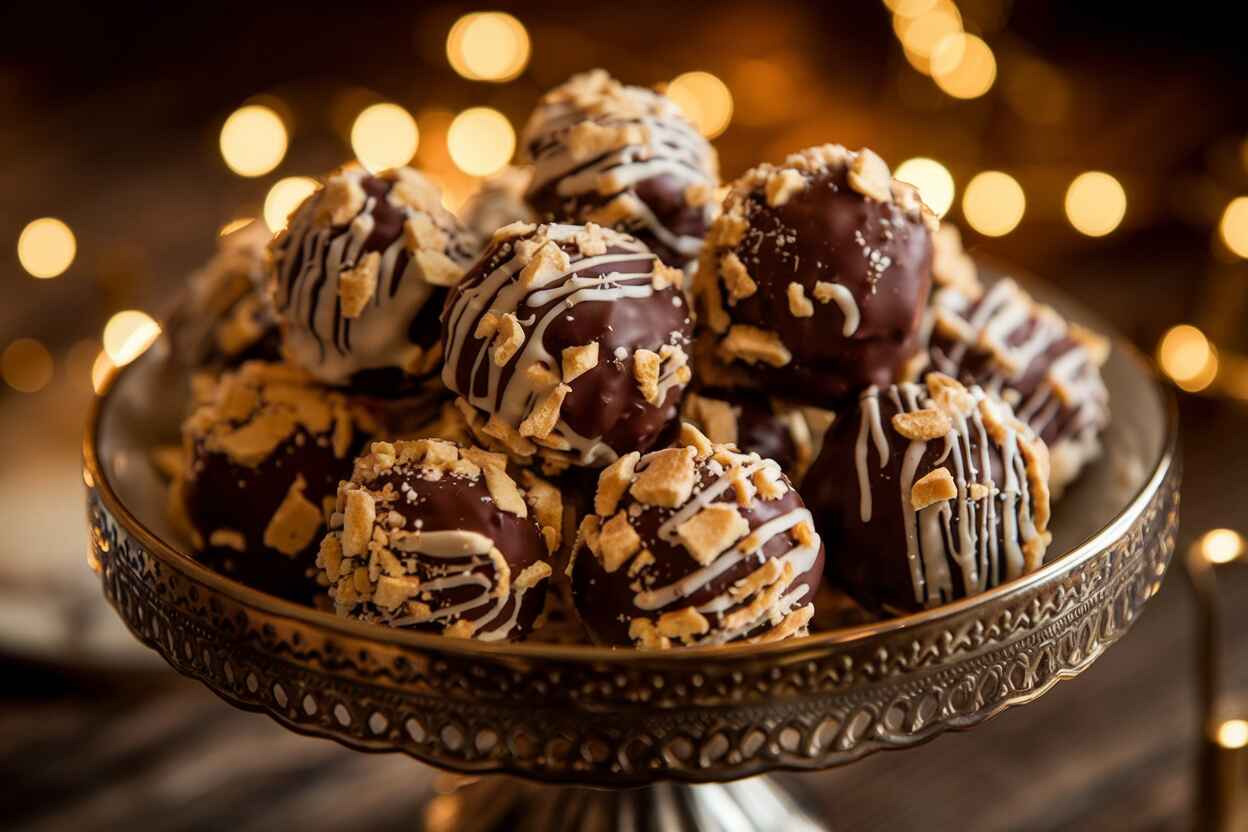
- Add a finishing touch: While the chocolate is still wet, I love sprinkling extra crushed Butterfinger pieces on top for added crunch and decoration.
After all the balls are coated, I slide the tray back into the fridge and wait (impatiently) for the chocolate to harden.
Step 4: Storing and Serving
Once they’re fully set, it’s time to enjoy these delicious Butterfinger Balls! They’re so addicting, I have to remind myself to share.
- Storage tips: I store them in an airtight container in the fridge, where they stay fresh for up to a week.
- Freezing for later: When I want to stock up, I freeze them for up to 3 months and just let them thaw for a few minutes before serving.
- Serving ideas: Sometimes I serve them chilled for a firmer bite, or let them soften slightly for a melt-in-your-mouth experience.
Now, let’s talk about some fun ways to customize these treats and make them even more exciting!
Creative Variations to Try
If you’re like me and love experimenting with flavors, there are so many ways to take these Butterfinger Balls to the next level. Here are a few of my favorite twists:
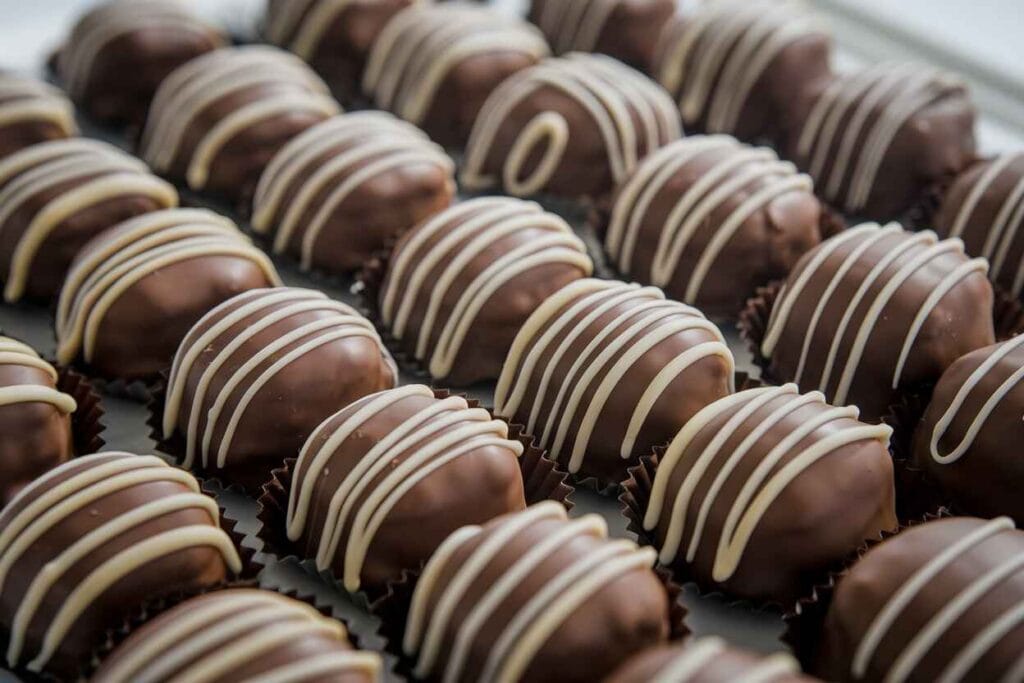
White Chocolate Butterfinger Balls
Swapping semi-sweet chocolate for white chocolate creates a sweeter, creamier version that’s absolutely irresistible. I like to drizzle a bit of dark chocolate over the top for contrast.
Dark Chocolate Delight
For a richer flavor, I use dark chocolate instead of milk chocolate. It balances the sweetness of the Butterfinger perfectly and adds a more sophisticated touch.
Coconut Butterfinger Balls
Mixing shredded coconut into the filling adds a tropical twist and an extra layer of texture that makes these even more special.
Nutty Crunch
Adding chopped almonds or pecans gives the Butterfinger Balls an even crunchier bite and a nutty depth of flavor that pairs beautifully with the chocolate.
Holiday-Themed Butterfinger Balls
When the holidays roll around, I love decorating these with festive sprinkles or drizzling colored chocolate over the top to match the occasion.
No matter how you choose to customize them, Butterfinger Balls are always a hit. I can’t wait for you to try them and discover your favorite variation!
Bonus Recipe: Peanut Butter Chocolate Bites
If you love Butterfinger Balls, you’ll adore these quick and easy Peanut Butter Chocolate Bites! They have the same rich peanut butter flavor with a smooth chocolate coating, but with a slightly different texture that melts in your mouth.
Ingredients:
- 1 cup creamy peanut butter
- 1/2 cup honey or maple syrup
- 2 cups crushed graham crackers
- 1 cup semi-sweet chocolate chips
- 1 tablespoon coconut oil
Instructions:
- In a bowl, mix peanut butter, honey, and crushed graham crackers until well combined.
- Roll the mixture into small balls and place them on a parchment-lined baking sheet.
- Melt the chocolate chips and coconut oil in the microwave, stirring every 30 seconds until smooth.
- Dip each ball into the melted chocolate, coating evenly.
- Let the bites set in the fridge for at least 30 minutes before serving.
These Peanut Butter Chocolate Bites are perfect for a quick snack or a fun dessert to share with friends and family.
A Sweet Memory That Inspired This Recipe
I remember the first time I made these Butterfinger Balls for a family gathering. I was running late and needed a quick dessert that everyone would love. As soon as I set the tray down, they were gone within minutes! My friends and family couldn’t believe how easy they were to make, and ever since then, they’ve become my go-to no-bake treat. Whether it’s a last-minute potluck or just a craving for something sweet, these Butterfinger Balls always bring back that moment of joy and laughter.
What I love most about them is how versatile they are—you can dress them up for special occasions or keep them simple for a quick weeknight indulgence. It’s moments like these that make me appreciate the simple joys of homemade treats.
Frequently Asked Questions About Butterfinger Balls
Can I use crunchy peanut butter instead of creamy?
Yes, using crunchy peanut butter adds a delightful texture with little bits of peanuts, making the Butterfinger Balls even crunchier.
How do I store Butterfinger Balls?
I recommend storing them in an airtight container in the fridge for up to a week, or freezing them for up to three months.
What is the orange stuff in Butterfingers?
The bright orange filling in Butterfingers comes from a combination of roasted peanuts, sugar, and molasses. These ingredients are cooked and aerated to create a light, crispy texture with a distinctive peanut buttery flavor. The signature orange color is achieved using food coloring to enhance its visual appeal.
Can I make these treats nut-free?
Absolutely! Try using sunflower seed butter as a substitute for peanut butter for a delicious nut-free alternative.
Why is my mixture too sticky to roll?
If your mixture feels too sticky, pop it in the fridge for 20-30 minutes to firm up, which makes rolling much easier.
Can I add other mix-ins to the Butterfinger Balls?
Yes! Chopped nuts, shredded coconut, or mini chocolate chips make great additions to customize the recipe.
What’s the best way to crush Butterfinger bars?
Placing them in a sealed zip-top bag and using a rolling pin works well. If you prefer a finer texture, a food processor does the job perfectly.
Can I use white chocolate instead of dark chocolate?
Of course! White chocolate adds a creamy, sweeter touch that pairs beautifully with the peanut butter filling.
What is the flaky stuff in Butterfingers?
The flaky layers in Butterfingers are made from a unique candy-making process called “lamination.” This process involves layering cooked sugar and peanut butter to create a crisp, crunchy texture that shatters into thin flakes when bitten. This flaky, peanut buttery center is then coated in a smooth chocolate layer, giving Butterfingers their signature crunch and flavor.
Are Butterfinger Balls gluten-free?
Not by default, but you can make them gluten-free by using crushed gluten-free cookies instead of regular graham crackers.
How do I make these treats healthier?
Swap out the powdered sugar for a sugar-free sweetener and use dark chocolate for a lower-sugar option.
Can I make these ahead of time?
Yes! They are perfect for making ahead and can be stored in the fridge or freezer until ready to serve.
Conclusion
Butterfinger Balls are the perfect combination of crunchy, sweet, and chocolatey goodness that can be enjoyed at any time. Whether you’re making them for a special occasion or as a fun weekend treat, they’re guaranteed to impress.
If you loved this recipe, you might also enjoy our Xango Dessert. It’s another simple and delicious treat you won’t want to miss!
Now that you know how easy it is to make Butterfinger Balls, it’s time to gather your ingredients and give them a try. Happy snacking!