What Are Peanut Clusters?
Imagine biting into something that’s sweet, salty, crunchy, and completely addictive – that’s exactly what peanut clusters deliver! These little nuggets of chocolatey goodness are one of my go-to options when I need something quick and satisfying. These chocolatey treats are super easy to whip up with just a handful of ingredients, and trust me, you don’t need to be a pro in the kitchen to nail this recipe. Once you try them, you’ll wonder why you ever bought them pre-made.
Why These Treats Are Loved by Everyone
Peanut clusters have a way of winning over hearts. They’re the perfect combo of flavors and textures – sweet and salty, creamy and crunchy. Whether you’re planning a holiday party, putting together homemade gifts, or just treating yourself after a long day, they’re a total win. In fact, they’re great for every occasion and can easily fit into any celebration.
Benefits of Making Peanut Clusters at Home
Save Money with Homemade Treats
Why spend extra on store-bought peanut clusters when you can make them yourself? When you go the homemade route, you’re not only saving money, but you’re also getting a fresher, tastier product. Plus, making them at home lets you control the ingredients – no weird preservatives or extra sugar here! Even better, you can make them in bulk and store them for later.
Quick and Easy Treats for All Skill Levels
No fancy skills required! If you can stir melted chocolate and peanuts together, you can make peanut clusters. Seriously, it’s that easy. The recipe takes just 20-30 minutes from start to finish, and it’s a fun project to do with kids or friends. No baking, no stress – just delicious results. Furthermore, the process is so simple that you can customize as you go along.
A Brief History of Peanut Clusters
Peanut clusters have been a staple in homemade desserts for decades. Back in the day, they were a clever way to create something sweet and indulgent using pantry staples like peanuts and chocolate. Over time, this simple treat became a holiday favorite, popping up at parties and in gift baskets everywhere. Today, these clusters are still a go-to recipe for anyone craving a classic, no-fuss dessert. Additionally, their history shows how a little creativity in the kitchen can turn basic ingredients into something truly special.
Key Ingredients for the Best Peanut Clusters
Why Roasted Peanuts Are the Best Choice
Peanuts are the star of the show here, so you’ll want to pick the right ones. Roasted peanuts have a deeper, nuttier flavor that really stands out in peanut clusters. You can go with salted or unsalted, depending on your preference, but a hint of salt balances the sweetness of the chocolate perfectly. Moreover, roasted peanuts provide a crunch that complements the smoothness of melted chocolate.
Choosing the Perfect Chocolate
Chocolate is what ties everything together. Semi-sweet chocolate chips are a classic choice because they’re not too sweet or bitter. That said, you can totally customize the flavor with milk chocolate, dark chocolate, or even white chocolate. Feeling fancy? Try mixing two types of chocolate for a layered effect! Also, using high-quality chocolate can elevate the overall taste and texture of your peanut clusters.
Optional Add-Ins to Customize Your Peanut Clusters
One of the best things about this recipe is how versatile it is. Here are a few add-ins to take your peanut clusters to the next level:
- Coconut flakes: Add a chewy, tropical twist.
- Dried fruits: Cranberries, raisins, or chopped apricots bring sweetness and texture.
- Pretzels: Crushed pretzels add an extra layer of crunch and saltiness.
Not only do these add-ins make your clusters unique, but they also let you experiment with flavors and textures. For example, pairing coconut with white chocolate creates a completely different vibe. Additionally, you can adjust the quantities to suit your taste preferences.
Essential Tools for Making Peanut Clusters
Use a Microwave-Safe Bowl or Double Boiler
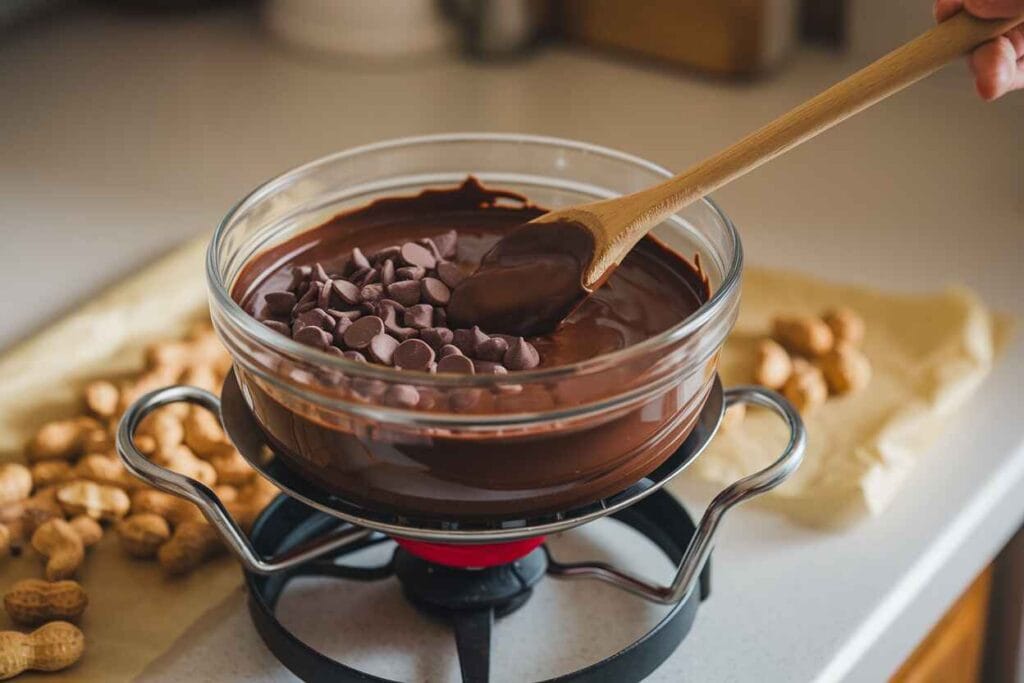
To melt the chocolate, you’ll need a microwave-safe bowl for a quick melt or a double boiler for more controlled heating. Either option works, so pick whatever you’re most comfortable with. Besides, both methods ensure your chocolate melts smoothly without burning, which is key to a good result.
Scoop, Spoon, or Hands-On Ideas for Peanut Clusters
Forming the peanut clusters is super simple. A cookie scoop helps keep them uniform in size, but a regular spoon works just as well. Want a rustic look? Let them be a little imperfect – that’s part of their charm. Moreover, using tools like scoops can make the process faster and cleaner.
Step-by-Step Instructions for Making Peanut Clusters
Step 1: Gather Your Ingredients and Tools
Before you start, make sure you have all your ingredients and tools ready. You’ll need roasted peanuts, your choice of chocolate, and any optional add-ins you’d like to try. Grab your microwave-safe bowl or double boiler, a mixing spoon, and a parchment-lined baking sheet.
Step 2: Melt the Chocolate
If using a microwave, place your chocolate in a microwave-safe bowl and heat it in 30-second intervals, stirring between each burst. This ensures the chocolate melts evenly without burning. If using a double boiler, set it up over medium heat and stir the chocolate until it’s smooth and shiny.

Pro Tip: Add a teaspoon of coconut oil or vegetable oil to the chocolate while melting for an extra silky texture.
Step 3: Mix in the Peanuts
Once the chocolate is fully melted, remove it from the heat. Gently stir in the roasted peanuts (and any add-ins you’re using) until they’re well coated. Make sure every peanut is covered in that delicious, melted chocolate.
Step 4: Form the Clusters
Using a spoon or a cookie scoop, drop small mounds of the peanut-chocolate mixture onto the parchment-lined baking sheet. Leave a bit of space between each cluster to prevent them from sticking together.
Step 5: Let Them Set
Allow the clusters to cool and set at room temperature for about an hour. If you’re in a hurry, pop the tray into the refrigerator for 20-30 minutes. Once the chocolate is firm, your peanut clusters are ready to enjoy!
Tips for Perfect Peanut Clusters
- Don’t Overheat the Chocolate: Chocolate burns easily, so stir frequently and melt it slowly.
- Use Fresh Ingredients: Fresh roasted peanuts and high-quality chocolate make all the difference in flavor.
- Keep Peanuts Crunchy: Make sure the peanuts are completely dry before adding them to the chocolate to maintain their crunch.
- Experiment with Add-Ins: Add crushed pretzels, dried fruits, or even a drizzle of caramel for creative variations.
Bonus Recipe: Dark Chocolate Sea Salt Peanut Clusters
For a gourmet twist, try this dark chocolate and sea salt variation. It’s perfect for those who love a hint of savory in their sweets.
Ingredients:
- 1 ½ cups dark chocolate chips
- 2 cups roasted peanuts
- 1 teaspoon flaky sea salt
Instructions:
- Follow the same steps as above, substituting dark chocolate chips for semi-sweet or milk chocolate.
- After forming the clusters, sprinkle a pinch of flaky sea salt on top of each one before they set.
- Let them cool completely, then enjoy the luxurious blend of bitter, sweet, and salty flavors.
Your peanut clusters are now ready to be savored or shared. Stay tuned, we’ll explore variations, creative presentation ideas, and FAQs!
Variations of Peanut Clusters
Creative Peanut Cluster Variations
- White Chocolate Peanut Clusters
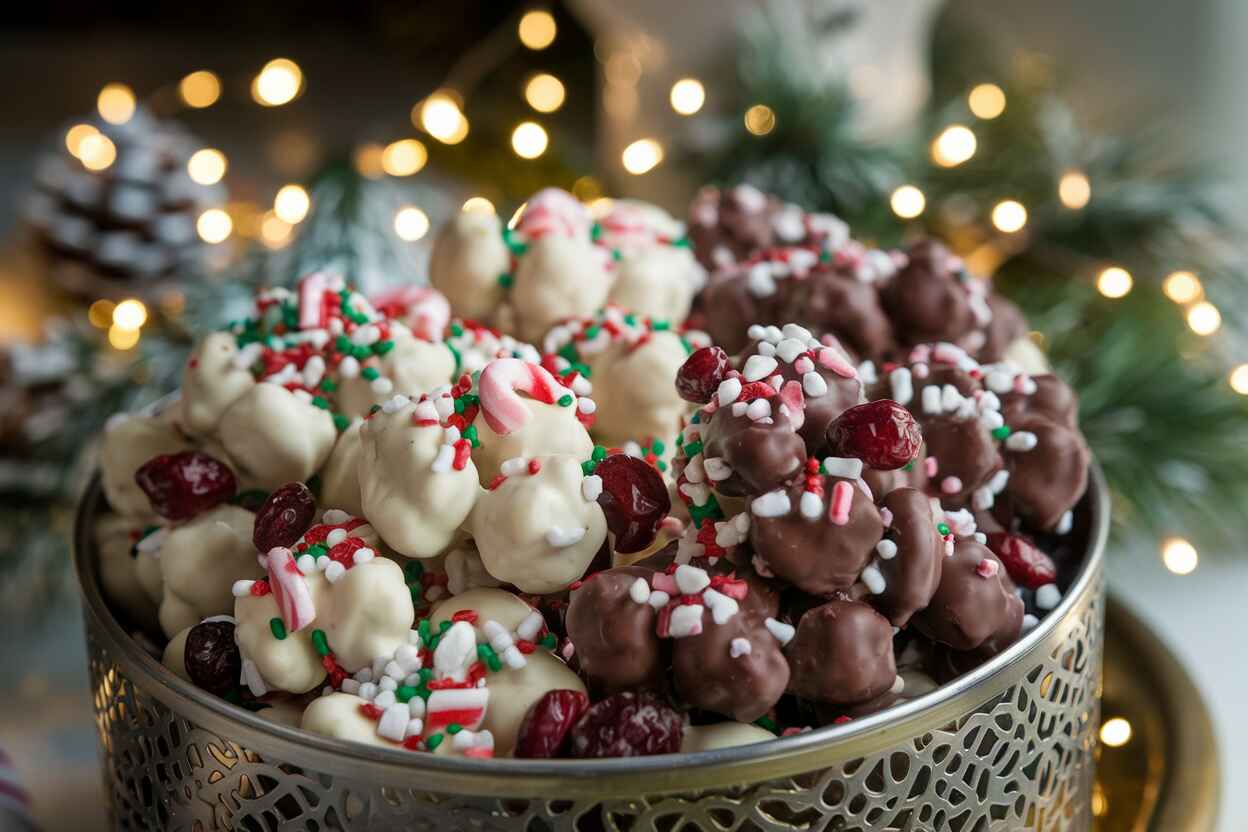
Let’s mix things up! White chocolate is so creamy and sweet, and it pairs perfectly with roasted peanuts. You can toss in some dried cranberries or even colorful sprinkles to make these clusters look amazing for holidays. If you’re feeling fancy, drizzle some milk or dark chocolate on top for a layered treat. I love making these for spring events like Easter because they look so light and cheerful.
- Holiday-Themed Clusters (Candy Cane or Red-Green Sprinkles)
Want to make your peanut clusters extra festive? Try crushing candy canes and sprinkling them on top for a minty holiday vibe. Red and green sprinkles also add that Christmas cheer. For Thanksgiving, drizzle them with orange or brown candy melts to match the season. You could even add a little edible gold dust to make them look fancy – these touches really make them stand out on the dessert table.
- Nut-Free Alternatives (Sunflower Seeds or Rice Krispies Instead of Peanuts)
If you need a nut-free option, don’t worry! You can swap peanuts for sunflower seeds, pumpkin seeds, or even puffed rice. Pretzel bits also work great and add a salty crunch. Sometimes, I’ll mix in toasted coconut flakes for a little extra flavor. Just make sure to check ingredient labels if you’re making these for someone with allergies – it’s always better to be safe.
- Gluten-Free and Vegan-Friendly Ideas (Using Dairy-Free Chocolate Chips)
Making vegan and gluten-free clusters is super easy. Just use dairy-free chocolate and make sure your add-ins are vegan-friendly. Gluten-free pretzels are a great choice too. If you want to make them fancy, crush up some freeze-dried strawberries or raspberries and sprinkle them on top. They add a fun tangy flavor and a pop of color, which is always a win. I love how everyone can enjoy these clusters no matter their diet.
“Experimenting with flavors makes these clusters a treat you’ll never get bored of!”
Creative Presentation Ideas
Packaging Peanut Clusters for Gifting (Wrapping Ideas for Holidays or Birthdays)
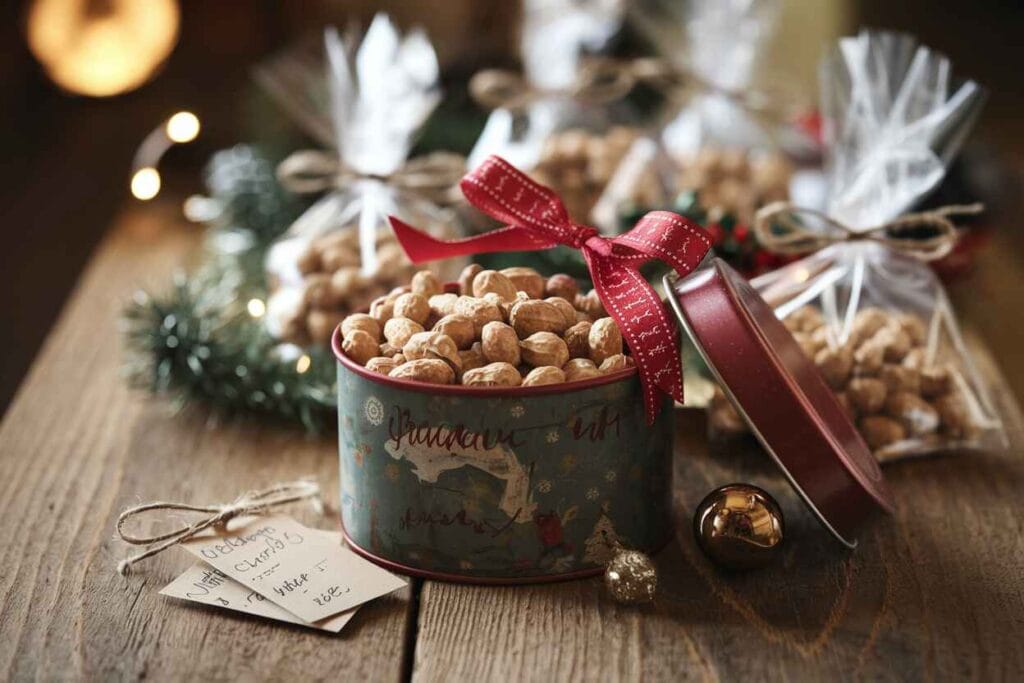
These clusters are awesome homemade gifts. I like to pack them in clear bags with a ribbon – super simple but cute. Decorative tins work great too if you want a more polished look. For an eco-friendly twist, try glass jars with a little twine and a label. Another idea is to stack them in a box with parchment paper between the layers – it makes them look like they’re straight from a fancy bakery.

Serving Suggestions (Pairing Ideas with Coffee, Tea, or Desserts)
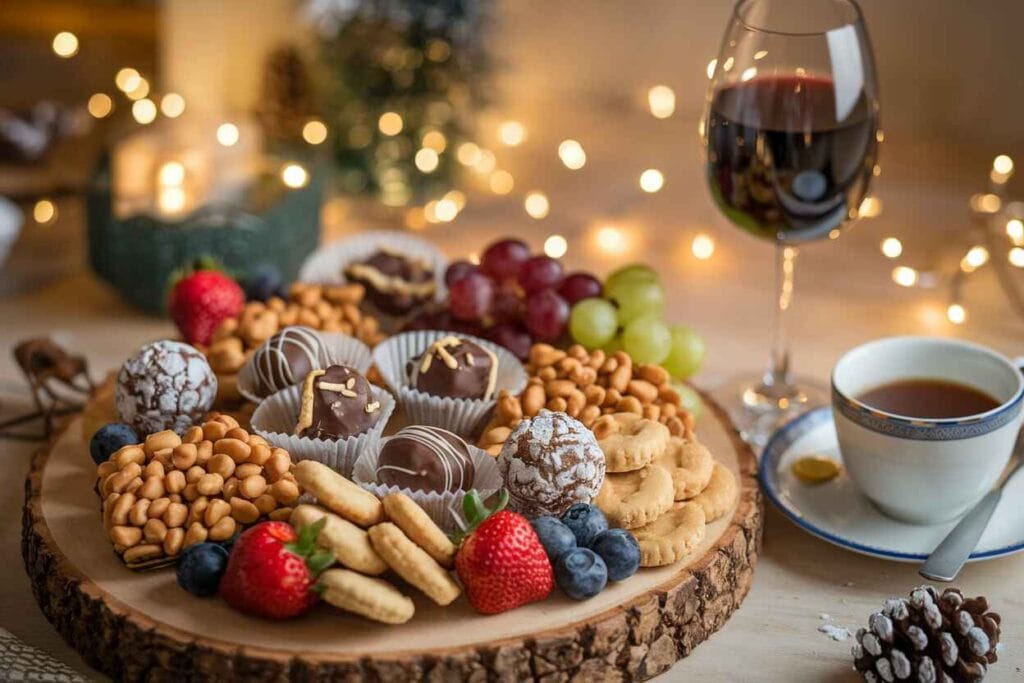
Peanut clusters are great on their own, but they’re even better when served with coffee, tea, or hot chocolate. For parties, I like to add them to a dessert platter with cookies and truffles. They’re also a hit on dessert boards, giving that perfect sweet-and-salty balance. And if you’re having a wine night, try pairing them with red wine or port – it’s such a good combo! Sometimes, I’ll put them in little cupcake liners for a neat and elegant touch.

“A little extra effort in how you present peanut clusters makes them even more special!”
Frequently Asked Questions
How Long Do They Last?
Peanut clusters can last up to 2 weeks if you keep them in an airtight container. If you pop them in the fridge, they’ll stay fresh for about a month. Need them to last longer? Freeze them! They’ll keep for up to 3 months. Just let them thaw for a bit at room temperature before digging in.
Can I Freeze Them?
Yes, totally! Lay them out on a baking sheet first and freeze them until they’re firm. Then, transfer them to a freezer bag or container. When you’re ready to eat, just let them sit out for a few minutes. I love having a stash of frozen clusters for last-minute treats.
What If My Chocolate Doesn’t Melt Properly?
It happens! If your chocolate seizes, just stir in a teaspoon of vegetable oil or coconut oil to smooth it out. Also, make sure no water gets in the chocolate while melting – even a drop can mess it up. Personally, I find using a double boiler gives me more control than a microwave, especially if I’m working with a lot of chocolate.
Why You Should Try Making Peanut Clusters
Peanut clusters are such an easy and fun treat to make. There are so many ways to customize them, and they’re always a hit at parties or as gifts. Plus, they last long enough to make ahead of time, which is a bonus. Try this recipe, and I promise you’ll love every bite!

