Introduction
Do you love desserts that are both delicious and beautiful? Then you’re going to adore this cherry tart! It’s like a slice of summer wrapped in a flaky, buttery crust. Imagine biting into a tart that’s filled with juicy cherries that are sweet with just a little tang. Yum, right? This cherry dessert guide will show you exactly how to make it, step by step.
Don’t worry if you’ve never baked a tart before. I’ve got your back! This guide is super simple and easy to follow. First, we’ll start with the crust, then we’ll move on to the sweet cherry filling. After that, you’ll put it all together to create a dessert masterpiece. Plus, I’ve even included a no-bake version at the end for when you’re short on time or don’t feel like turning on the oven. So, let’s get started right away! Furthermore, I’ll share tips to ensure success every step of the way. Finally, you’ll see just how easy it is to create a stunning and delicious tart.
Why You’ll Love This Dessert Guide
- Simple Ingredients: Made with pantry staples and fresh cherries, this tart creation keeps things easy.
- Customizable Cherry Dessert: You can adapt the recipe to suit dietary preferences or try it with other fruits if cherries aren’t available.
- Show-Stopping Cherry Tart: This tart is beautifully rustic and elegant, making it perfect for special occasions or casual gatherings alike. Moreover, it’s a dessert that never fails to impress.
Ingredients
For the Pastry Crust
- 2 1/2 cups (315g) all-purpose flour
- 1/2 cup (100g) granulated sugar
- 1/2 teaspoon salt
- 1 cup (226g) unsalted butter, chilled and cubed
- 1/4 to 1/2 cup (60-120ml) ice-cold water
For the Cherry Filling in This Cherry Tart
- 4 cups (600g) fresh cherries, pitted
- 3/4 cup (150g) granulated sugar
- 2 tablespoons cornstarch
- 1 tablespoon fresh lemon juice
- 1 teaspoon vanilla extract
- Optional: 1/4 teaspoon almond extract for added depth
Optional Garnishes for Your Cherry Tart Recipe
- Powdered sugar for dusting
- Whipped cream or vanilla ice cream for serving
Equipment Needed to Make This Cherry Tart Recipe
- Mixing bowls
- Rolling pin
- Tart pan (9-inch)
- Parchment paper
- Pie weights or dried beans
- Medium saucepan
- Pastry brush
Step-by-Step Instructions
Step 1: Preparing the Pastry Crust
Let’s start with the base of our cherry tart: the pastry crust. This crust is buttery, flaky, and comes together easily. First, grab a large mixing bowl and combine the flour, sugar, and salt. Next, add the chilled, cubed butter to the bowl. Using a pastry cutter or your fingers, work the butter into the dry ingredients until the mixture resembles coarse crumbs.
“The secret to a perfect crust is cold butter and gentle handling. Overworking the dough can make it tough, so take your time.”
After that, slowly add the ice-cold water, a tablespoon at a time, mixing gently until the dough begins to come together. Be careful not to overwork the dough. Once it holds its shape, wrap it in plastic wrap and refrigerate it for at least 30 minutes. This step ensures the butter stays cold, which is key to achieving that flaky texture. Additionally, you can freeze the dough for later use if needed.
Step 2: Making the Cherry Filling for This Tart
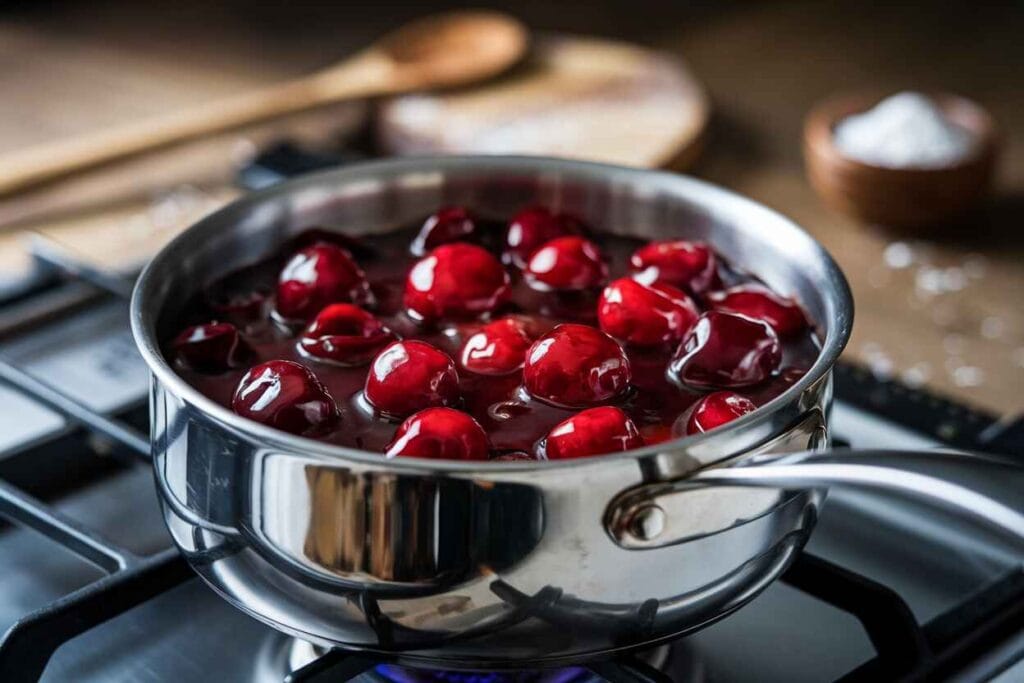
While the crust is chilling, let’s move on to the filling. In a medium saucepan, combine the cherries, sugar, cornstarch, lemon juice, and vanilla extract. Place the pan over medium heat and stir occasionally until the mixture thickens and bubbles. This should take about 5-7 minutes.

“Using fresh cherries makes all the difference in flavor. However, frozen cherries work wonderfully if fresh ones aren’t in season.”
If you want an extra flavor boost, you can add a splash of almond extract. Once the filling is ready, remove it from the heat and let it cool to room temperature. This step ensures your tart won’t get soggy when you assemble it. Moreover, a cooled filling spreads more evenly, making assembly a breeze.
Step 3: Assembling the Cherry Tart Recipe
Preheat your oven to 375°F (190°C). Roll out the chilled dough on a floured surface until it’s about 1/8 inch thick. Carefully transfer the dough to your tart pan, pressing it gently into the edges. Trim any excess dough hanging over the sides.

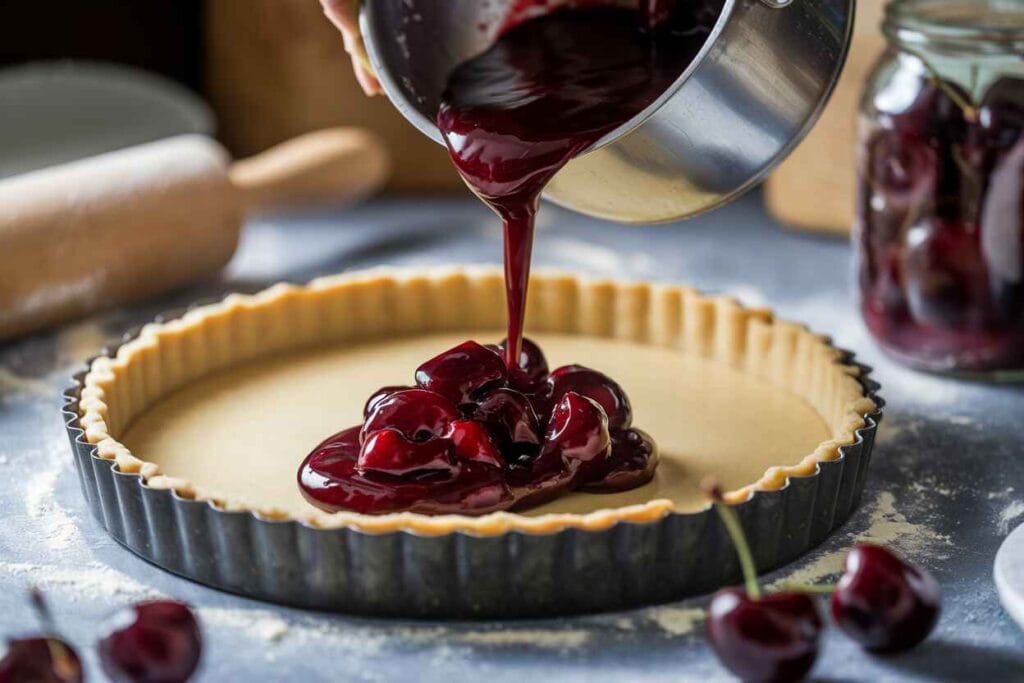
Next, pour the cooled cherry filling into the crust, spreading it out evenly. You can get creative here by adding lattice strips or decorative shapes with any leftover dough. This step adds a charming homemade touch. Furthermore, brushing the top crust with egg wash gives it a beautiful golden finish.
Step 4: Baking and Cooling Your Cherry Tart
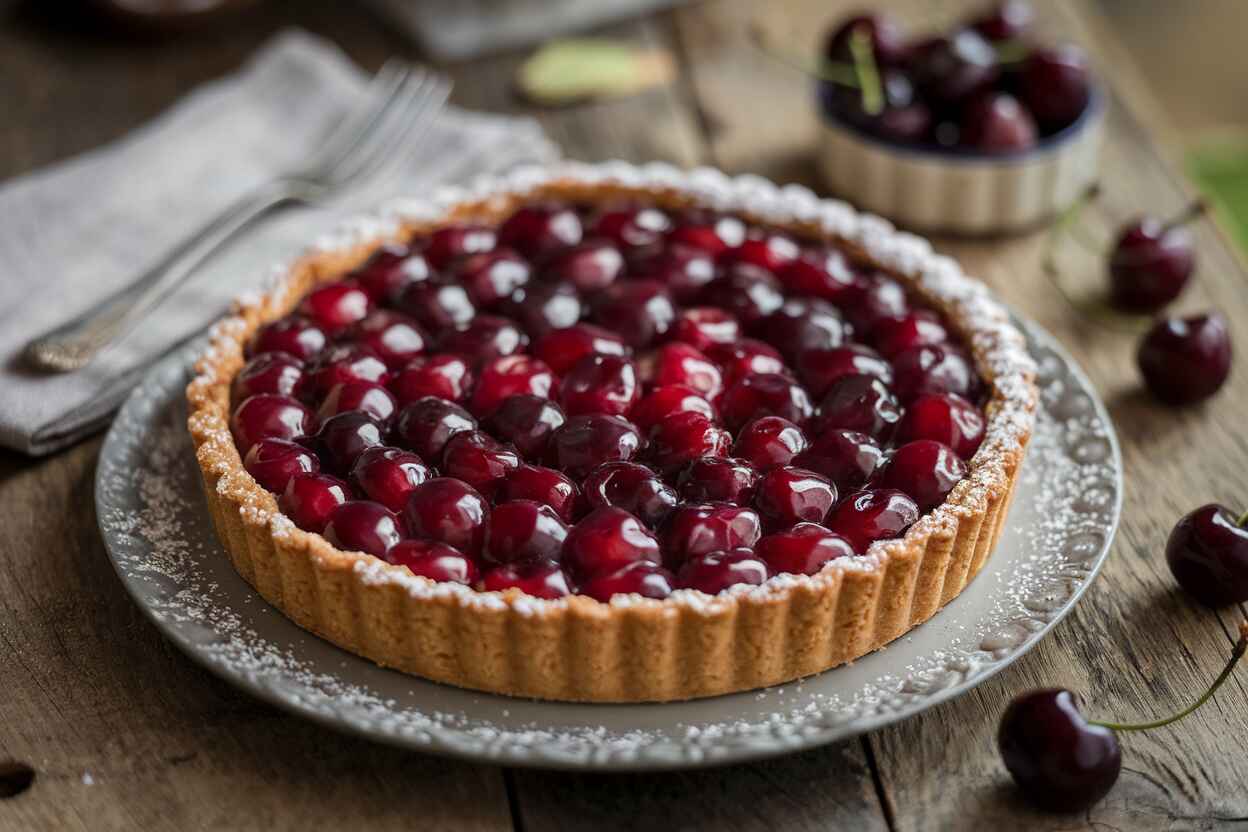
Place your tart on the center rack of the preheated oven and bake for 35-40 minutes, or until the crust is golden brown and the filling is bubbling. Once baked, remove the tart from the oven and let it cool completely on a wire rack. Cooling allows the filling to set, making it easier to slice and serve.
“Patience is key—letting the tart cool fully will ensure clean slices and a perfect presentation.”
To enhance the flavor, consider serving the tart warm with a scoop of ice cream or a drizzle of caramel sauce. Similarly, you can pair it with a warm cup of tea for a cozy treat.
Variations and Substitutions
Using Different Fruits in Your Cherry Tart
If cherries aren’t available, don’t worry! You can substitute with fresh blueberries, peaches, or raspberries. These fruits provide a unique twist while still keeping the tart delicious. Additionally, combining fruits like cherries and blackberries creates a deeper, more complex flavor. Moreover, seasonal fruits allow for endless creativity in your dessert.
Gluten-Free and Vegan Cherry Tart Options
- Gluten-Free: Swap the all-purpose flour for a 1:1 gluten-free baking flour. Ensure your other ingredients, like cornstarch, are certified gluten-free.
- Vegan: Use a vegan butter alternative for the crust and ensure the sugar is free from animal processing. Furthermore, replacing the egg wash with almond milk works perfectly.
Sugar-Free Cherry Tart Alternative
Replace granulated sugar with a sugar substitute like stevia or erythritol for a healthier version of this tart. Likewise, using natural sweeteners like honey or maple syrup can add a unique depth of flavor. In addition, you can experiment with coconut sugar for a caramel-like undertone.
Creative Presentation Ideas for Cherry Tart
Rustic Style Cherry Tart Presentation
Give your tart a homemade look by folding the crust edges over the filling for a galette-style tart. Sprinkle coarse sugar on top for added charm. Additionally, this rustic look is perfect for casual family dinners.
Mini Cherry Tart Creations
Use a muffin tin to create individual-sized cherry tarts. They’re perfect for serving at parties or as cute personal treats. Meanwhile, adding a dollop of whipped cream to each mini tart enhances their appeal. Additionally, these mini tarts make portion control easier.
Elegant Garnishes for Your Cherry Tart
Top your tart with edible flowers, shaved chocolate, or a drizzle of icing for a fancy, sophisticated touch. Furthermore, garnishing with fresh mint leaves or a dusting of powdered sugar adds a professional finish. Similarly, a drizzle of berry coulis adds vibrant color and flavor.
Perfect Pairings for Cherry Tart
Beverages to Pair with Cherry Tart
Pair your cherry tart with beverages like:
- Freshly brewed iced tea
- A frothy cappuccino for a cozy pairing
Side Dishes for Cherry Tart Pairings
For an indulgent dessert platter, serve your tart with:
- A scoop of vanilla bean ice cream
- A dollop of whipped cream
- A handful of fresh berries for added freshness
Additionally, a side of dark chocolate shavings or candied nuts can provide extra texture and flavor.
Serving Suggestions for Cherry Tart
How to Serve Your Cherry Tart Warm
Reheat the tart in the oven at 350°F (175°C) for 5-7 minutes. Serve with a scoop of vanilla ice cream for a melt-in-your-mouth experience. Additionally, a drizzle of warm chocolate sauce can elevate the dish.
Serving Cherry Tart with Ice Cream or Cream
Top the tart with whipped cream or a scoop of ice cream to enhance the flavor and create a luxurious dessert. Alternatively, serve with Greek yogurt for a slightly tangy contrast. Moreover, pairing with mascarpone cheese adds a creamy indulgence.
Bonus: No-Bake Cherry Tart Recipe
If you’re short on time or don’t want to turn on the oven, this no-bake cherry tart is the perfect solution. It’s quick, easy, and just as delicious as the baked version.
Ingredients for the No-Bake Version
- 1 1/2 cups (150g) graham cracker crumbs
- 1/4 cup (50g) granulated sugar
- 1/2 cup (115g) unsalted butter, melted
- 3 cups (450g) fresh cherries, pitted
- 1/2 cup (100g) cherry jam
- Whipped cream for topping (optional)

Step-by-Step Instructions for No-Bake Tart
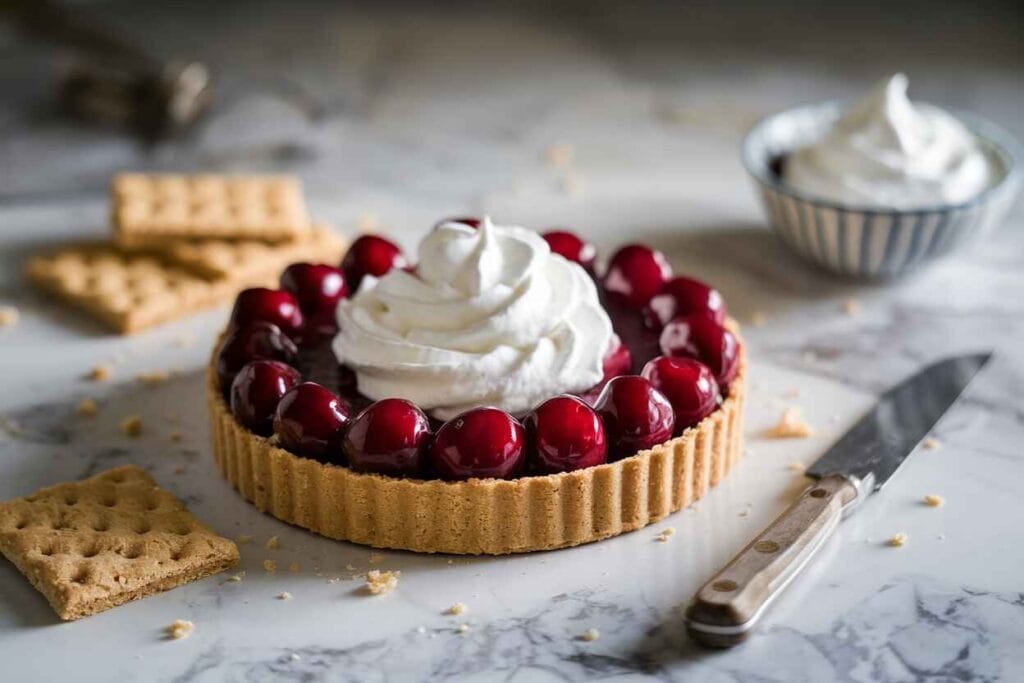
- Prepare the Crust: In a bowl, mix the graham cracker crumbs, sugar, and melted butter until well combined. Press the mixture firmly into the bottom and sides of a 9-inch tart pan. Refrigerate for 20-30 minutes to set.
- Make the Filling: In a small saucepan over low heat, warm the cherry jam until it becomes slightly runny. Stir in the fresh cherries until evenly coated.
- Assemble the Tart: Pour the cherry mixture over the chilled crust, spreading it out evenly. Refrigerate for at least 1 hour to set.
- Serve: Top with whipped cream if desired, slice, and enjoy!
“This no-bake version is perfect for hot summer days when you crave something sweet without heating up the kitchen.”
Storing and Reheating Cherry Tart
To keep your cherry tart fresh and delicious, proper storage is key. Whether baked or no-bake, follow these tips to maintain its flavor and texture:
Refrigerating the Tart
- For the baked version, cover the tart loosely with plastic wrap or foil and refrigerate for up to 3-4 days.
- For the no-bake version, store it in an airtight container in the fridge for up to 2 days to keep the crust firm.
Freezing the Tart
- If you need to freeze the tart, bake it fully and let it cool completely. Wrap it tightly in plastic wrap and aluminum foil, then freeze for up to 2 months.
- To thaw, transfer the tart to the refrigerator and let it defrost overnight.
Reheating Instructions
- To enjoy the baked tart warm, reheat individual slices in the oven at 350°F (175°C) for about 5-7 minutes.
By following these tips, you’ll be able to savor your cherry tart days after it’s made!
Frequently Asked Questions (FAQs) About Cherry Tart
Can I Use Frozen Cherries for Cherry Tart?
Yes! Frozen cherries work wonderfully for this recipe. Just make sure to thaw and drain them before using. Moreover, frozen cherries are often pre-pitted, saving you time.
How Do I Thicken the Cherry Tart Filling?
If your filling seems too runny, add an extra tablespoon of cornstarch and simmer for a few more minutes until it thickens. Additionally, ensure you let the filling cool completely to check its final consistency.
What’s the Best Tart Pan to Use for Cherry Tart?
A 9-inch tart pan with a removable bottom is ideal for easy slicing and serving. Similarly, non-stick pans can make the baking process smoother.
Conclusion
Whether you choose the classic baked version or the no-bake option, this cherry tart is sure to impress. Its flaky crust, juicy filling, and customizable options make it a versatile dessert for any occasion. So roll up your sleeves, grab some fresh cherries, and let’s get baking!
“Baking isn’t just about the end result—it’s about enjoying the process and creating something memorable.”
With these tips and tricks, you’re now ready to conquer the ultimate cherry tart. Share it with loved ones or savor it all for yourself—you’ve earned it!

